When you insert a WordPress gallery into your blog post, it gets rendered in native WordPress gallery mode. In particular, each of the photos in your gallery gets rendered as a thumbnail, and clicking on the thumbnail will connect you to the photo source file, or the photo attachment page.
Here is an example WordPress native gallery-


Sometimes, however, you may want to render your photo gallery with your own layout and style. Below is the same gallery rendered using the Galleria javascript library and the Shiba Gallery Plugin.
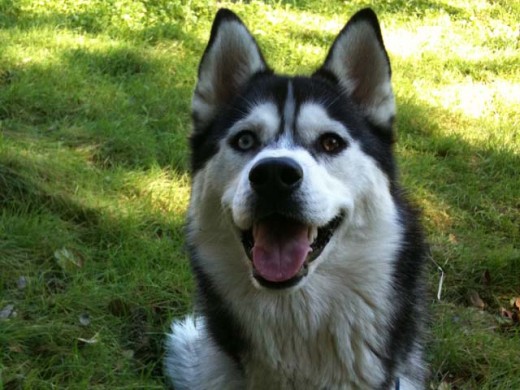 Siberian Husky smile.
 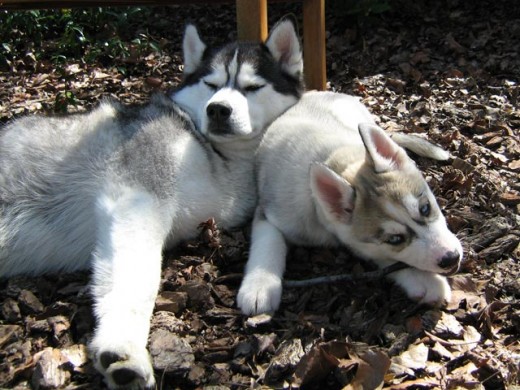 Big Husky and Little Husky.
 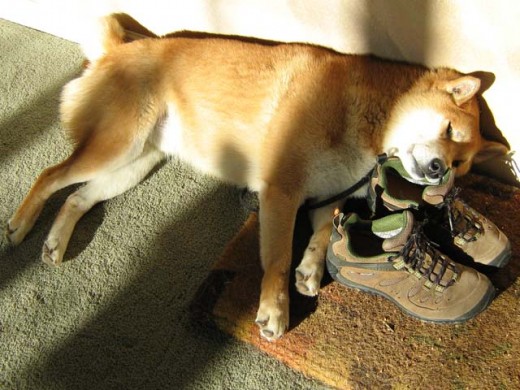 Shiba Inu and his shoe pillow.
 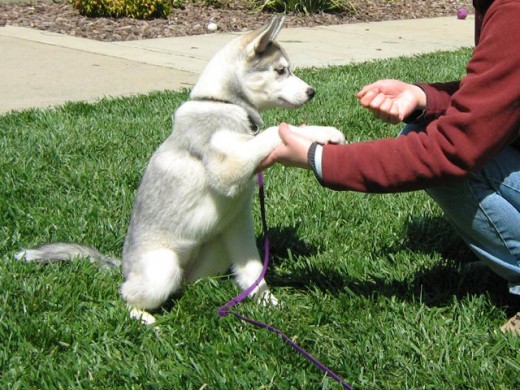 Dog handshake.
 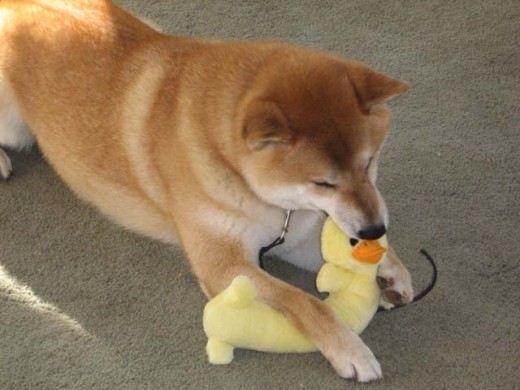 Shiba Inu and duck toy.
  Shiba and Husky playing in the grass.
 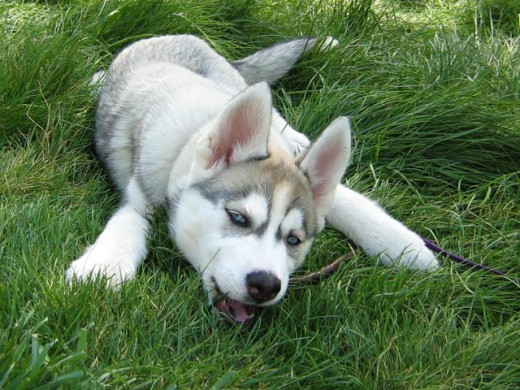 Husky puppy on the green, green, grass of home.
 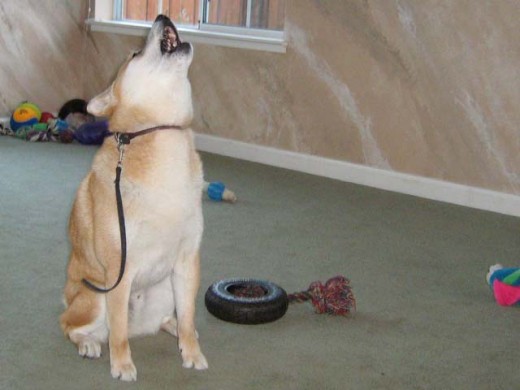 Shiba Inu singing for his supper.
 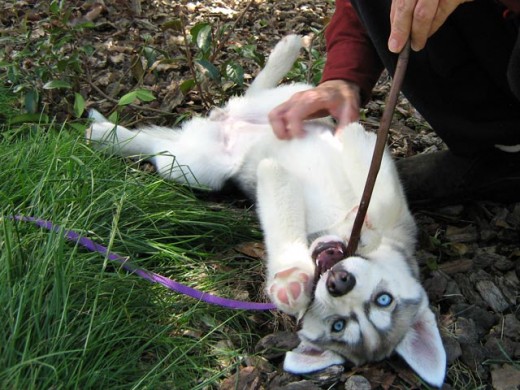 Husky puppy playing with a stick.
 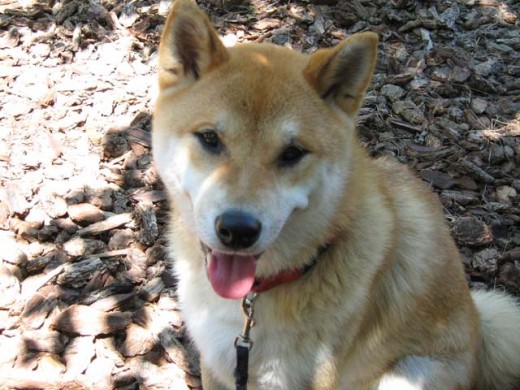 Shiba Inu smile.
A good way to render your WordPress galleries in your own layout and style, is through a WordPress plugin.
1. Create a WordPress Plugin
WordPress plugins reside in the wp-content/plugins directory of your WordPress blog installation. To create a plugin –
- Choose a unique plugin name. No two plugins can have the same name, so pick a unique name. This is especially important if you want to submit your plugin to the WordPress Plugin Directory.
- Create a directory for your plugin in the wp-content/plugins directory using your plugin name.
- Create a PHP file within your plugin directory using the same name.
- Insert the following code at the start of your main plugin file.
/*
Plugin Name: plugin_name
Plugin URI: http://your-plugin-url
Description: Your WordPress Gallery Plugin description.
Version: 1.0
Author: Your Name
Author URI: http://your-home-url
*/
Congratulations! You have just created a plugin.
If you go into the Plugins screen on your WordPress Dashboard, your new plugin should be listed there. Currently, however, it is just an empty plugin and does not do anything yet.
Here are more detailed instructions from WordPress on how to create a plugin.
2. Replace the Native WordPress Gallery Function
To render our own photo gallery, we first replace the WordPress native gallery function with our own gallery drawing function. Add the code below to your main plugin file.
<?php
remove_shortcode('gallery');
add_shortcode('gallery', 'parse_gallery_shortcode');
?>
This will tie your WordPress galleries to a new rendering function, namely parse_gallery_shortcode.
3. Define Your New Gallery Rendering Function
Now we just need to define our new gallery rendering function.
The parse_gallery_shortcode function gets handed an array by the WordPress system that contains a list of gallery options. Here are the basic gallery options supported by WordPress.
NOTE – As outlined in the gallery shortcode page, there was a significant change in media workflow since WordPress 3.5. This was because the new media manager interface allows for individual images to be selected and ordered, thereby producing a list of image ids. This is in contrast to the pre-3.5 system which required images to be attached to a parent post, and then shows all images associated with a single parent id.
Since several people have asked about this in the comments section, I have updated the code below to take into account this new change.
<?php
function parse_gallery_shortcode($atts) {

	global $post;

	if ( ! empty( $atts['ids'] ) ) {
		// 'ids' is explicitly ordered, unless you specify otherwise.
		if ( empty( $atts['orderby'] ) )
			$atts['orderby'] = 'post__in';
		$atts['include'] = $atts['ids'];
	}

	extract(shortcode_atts(array(
		'orderby' => 'menu_order ASC, ID ASC',
		'include' => '',
		'id' => $post->ID,
		'itemtag' => 'dl',
		'icontag' => 'dt',
		'captiontag' => 'dd',
		'columns' => 3,
		'size' => 'medium',
		'link' => 'file'	), $atts));


	$args = array(
		'post_type' => 'attachment',
		'post_status' => 'inherit',
		'post_mime_type' => 'image',
		'orderby' => $orderby
	);

	if ( !empty($include) )
		$args['include'] = $include;
	else {
		$args['post_parent'] = $id;
		$args['numberposts'] = -1;
	}

	$images = get_posts($args);

	foreach ( $images as $image ) {
		$caption = $image->post_excerpt;

		$description = $image->post_content;
		if($description == '') $description = $image->post_title;

        $image_alt = get_post_meta($image->ID,'_wp_attachment_image_alt', true);

        // render your gallery here
        echo wp_get_attachment_image($image->ID, $size);
	}
}
?>
Lines 6-11 – Check if we are using a list of ids (new media flow). If so, put the relevant data in the proper attribute elements.
Lines 13-23 – Extract the current gallery options. Here, we can specify default values for any gallery option that is left undefined by the user. To add a new gallery option, simply add it to the shortcode_atts array.
The extract WordPress function will then put its results into local variables named after each of the gallery options. For example, $id will contain the gallery id, $size will contain the gallery size and so on.
Lines 26-31 – Once we have extracted all the relevant gallery options, we can retrieve all the images or photos from the relevant WordPress gallery using the WordPress get_posts function. Here, we prepare the arguments for our get_posts query to search for images.
Lines 33-38 – If we are using the new id-list system, we enter the list of ids into the ‘include’ argument. Otherwise, we use the old system which extracts images based on parent-id (‘post_parent’ argument).
Line 40 – Call the get_posts function to retrieve the relevant set of images.
Lines 42-52 – Render the images in the WordPress gallery according to your own layout and style.
Note – that there are four pieces of text associated with each WordPress image – title, alternate text, caption, and description. You can change these by going into Media >> Library, and editing the relevant image.
Titles get stored in the post_title attribute of the image object.
Captions get stored in the post_excerpt attribute of the image object.
Descriptions get stored in the post_content attribute of the image object.
Alternate text gets stored as meta data associated with the image object.
The wp_get_attachment_image function on line 51 returns a HTML image element.
Depending on your needs, you may also want to consider using –
- wp_get_attachment_image_src, which retrieves the source image url, as well as the width and height of the image, or
- wp_get_attachment_link, which returns a HTML hyperlink for an image, based on a list of options.
Finally, insert the HTML code for structuring and styling each of the photos in your WordPress gallery and you are done!
Thanks for your post! I needed to know what to do if no ‘include’ index is present when loading the images and your example makes it quite clear.
Well actually, the ‘include’ index is present, but the value is empty.
This code pushes text down to below the gallery. How to show gallery below or between text content.
Ket, if you return the output and the use the_content() filter, it works inline (ie wherever you put your gallery in the post editor):
 remove_shortcode('gallery');
 add_shortcode('gallery', 'parse_gallery_shortcode');
function gallery_output_in_the_content($content) {
$g = parse_gallery_shortcode();
$custom_content = $g;
$custom_content .= $content;
return $custom_content;
}
add_filter('the_content', 'gallery_output_in_the_content');
function parse_gallery_shortcode($atts) {
… as above but with this extra code:
$gal .= '';
foreach ($images as $image) {
$caption = $image->post_excerpt;
$description = $image->post_content;
if($description == '') $description = $image->post_title;
$image_alt = get_post_meta($image->ID,'_wp_attachment_image_alt', true);
// render your gallery here
$gal .= '';
$img_meta = wp_get_attachment_metadata($image->ID);
$img = wp_get_attachment_image_src($image->ID, 'gallery-small');
$img_big = wp_get_attachment_image_src($image->ID, 'gallery-big');
$gal .= '';
if (strlen($caption) > 0) $gal .= '' . $caption . '';
$gal .= '';
}
$gal .= '';
return $gal;
}
Thanks for this approach. You could also use output buffering (ob_start, ob_get_contents) to get the output without changing much of the code.
This example been extremely helpful, thank you!
Hi there,
trying to display the gallery – as in the kin theme.
i am using wordpress 3.7
I created the plugin and added the first bit
then i added the second bit got errors
so i tried to add it to my functions file got the same error
tried to paste it into the page template not working there
any help would be great
This looks like a great solution, but when I activate the plugin, all the images in the editor’s Media popup disappear. Any idea why this might be happening?