There are two interesting blog background effects that we will consider here –
1. A hard edge effect.
2. A soft edge effect.


Both these blog background effects can be achieved with a simple PNG gradient background. PNG will allow you to create a transparent gradient that you can then apply to any background color.
The Hard Edge Blog Background Effect.
- Create a transparent gradient in your image editing tool of choice (e.g. PhotoShop). Alternatively you can just download and edit this pre-made transparent gradient.
- Make sure that the gradient is dark towards the inner edge and transparent towards the outer edge. The center of your image should exactly match the fixed-width of your blog.For example, the png above has a center of 930 pixels which is the total width of my WordPress blog. The total width of the image is 1130 pixels, with a gradient width of 100 pixels on each side.
- Include the following into your blog theme CSS file –
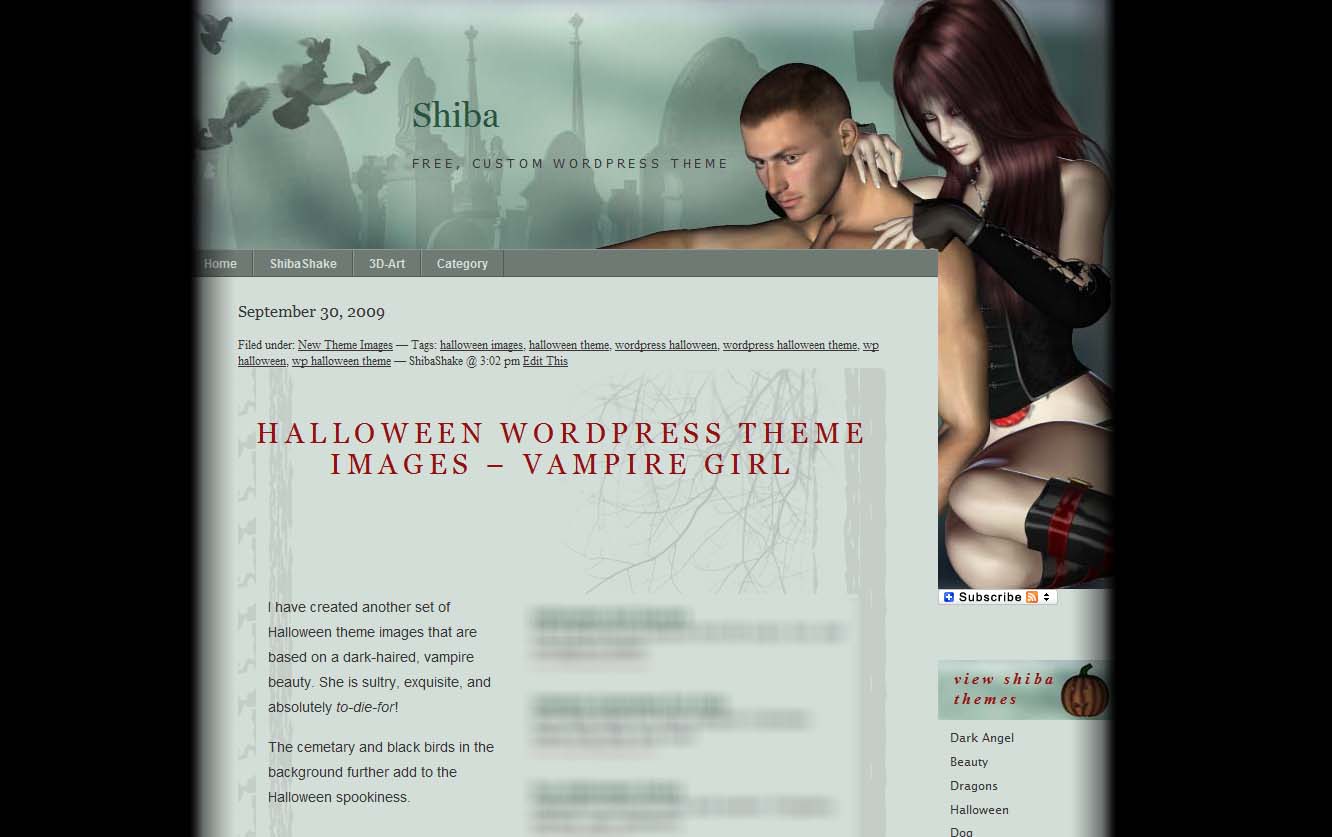
body {
	background: #999999 url('your-gradient.png') top center repeat-y; border: none;
}
";
This sets the background color to gray (#999999). You can set this to any color you want. For example, the blog screen-shot below has a hard-edge background effect with a white background.

The Soft Edge Blog Background Effect
The soft-edge background effect can be a bit more complex to achieve because the gradient is applied on top of your blog rather than outside it, as with the hard-edge background effect.
- Create a transparent gradient in your image editing tool of choice (e.g. PhotoShop). Alternatively you can just download and edit this pre-made transparent gradient.
- Make sure that the gradient is dark towards the outer edge and transparent towards the inner edge. The total width of your image should exactly match the fixed-width of your blog.For example, the png above has a total width of 930 pixels which is the total width of my WordPress blog.
- Include the following into your blog theme CSS file –
#rap {
	background: url('your_gradient.png') top center repeat-y; border: none;
}

body {
	background-color:#000000;
};
This assumes that rap is the outermost container of your blog.
- If you have image areas on the edge of your blog, you will have to apply your gradient png separately on top of these images. In particular, you may have to apply your png onto your header image. To do this, first create a header-overlay class in your blog style sheet.
.header-overlay { position:absolute; width:[enter header width]px; height:[enter header height]px; background: url('your_gradient.png') top left repeat-y; border: none; overflow: hidden; } - Include the above header-overlay area into your blog header. Go into the header.php file of your WordPress theme and look for the header image container. Add your header-overlay right below the header container.
<div id="header">

<div class="header-overlay"></div>

              <!-- Header container contents HERE -->
</div>

<!-- End header container -->
Note – it is important that the header container is set to relative positioning in your blog style-sheets.
#header{
	position:relative;
}


Thanks! I have worked very hard on the design but wasn’t happy with it until I added these two effects. They really take it to the next level and I love it.
I did switch the gradient files because I thought they looked better that way. I used the gradient file you use as an example for the hard on the soft and vice versa.
The inside edge in gray is working great and looks perfect … yeah!
The problem is the outside edge around the body won’t repeat. I adjusted the height of it to 3000px so I could see it because I was just so happy with the way it looked but I don’t think that would work long term because I would constantly have to change the height of it for new posts or any comments. The repeat commands don’t effect it or make it dissapear, mattering on how I mess with it.
I really want to keep this effect because they work together so well and give the site that added kick it needed. It’s amazing, how these two effects can have such a huge impact on the site.
Any suggestions would be greatly appreciated.
Thanks again!
Stacey
Hi Stacey,
Try putting the outside edge in the wrapper css. In general you want the outside edge to be in the container that you want it to repeat across.
Currently you have it in the header so it will be contained only within that div.
Hi Stacey,
Love your blog design! It seems that the soft-edge is working properly on the inner gray div of your blog. Where do you want it to appear that you are having issues with?
Hello
Very new to WordPress and thank you for a great tutorial and file. I will definately put this on my links once I am up and running.
I added the hard edge and it is great. The soft edge is giving me a little more trouble. I have it on the page but I cannot get it to repeat. If I enter in certain repeats they don’t work and others cause the effect to vanish, (only discovered this due to a cut and paste mistake.) I have the height at about 4000px right now so I could see the effect and I do love it, if I can get it to work.
Also, it looks great in MY Firefox and Explorer but doesn’t look so good on some of the others. I don’t know if it’s due to something being wrong but I will make my decision about the soft edge after I know how much of it is my mess up and what the final page will look like … what I can’t fix and just gotta live with. I changed my margins to padding since that is recommended for browser issues but it didn’t help a bit.
My biggest hope is I’ve made some stupid mistake that will fix alot of these things because I really like the effect. I’ve been working on this for two days, on and off, and maybe I’m just missing it because I’ve been looking at it too long. I keep walking away from it, hoping a little time will make it clear but so far … I got nothing. Definately appreciate any help you can offer.
Again, thanks for the great information and file, Stacey
Oh yeah … just love your RSS feed button!